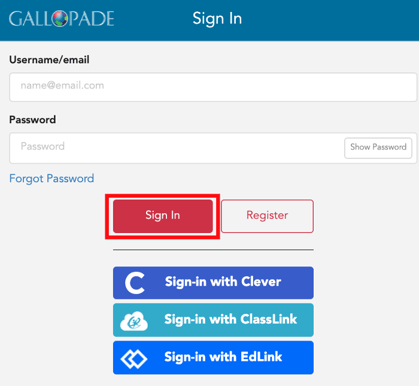
If you log in by going to gallopadecurriculum.com and use the red sign in button, you will be able to add students manually.
1. Once you have created your class(es) and have your class roster(s), to add students go to your dashboard, find the class, and select Roster from the class card.
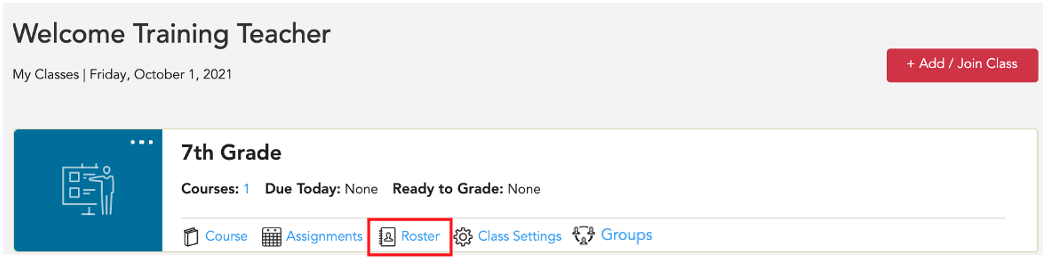
This will take you to the Class Roster.

In the class roster area you have two options: 1. Add existing students (for students who already have an account) 2. Add new students (for students new to Gallopade)

A. ADDING EXISTING STUDENTS
For every student who used Gallopade Online last year, you will add their existing student account to your class. To Add Students with Existing Accounts:
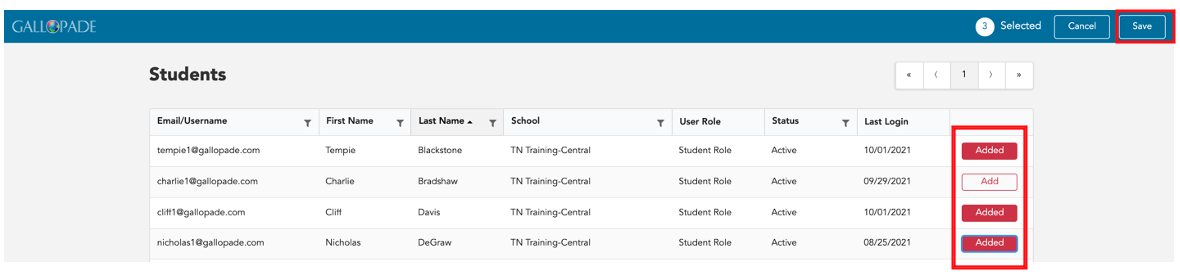
1. Select the red +Add Existing Student button.

2. Find students by sorting or searching by username, first name, or last name.

3. Select Add for each student in the class. The white add button will change to a red Added button once the student is selected. You can click Added to de-select. Then click Save in the upper right when ready.
B. ADDING NEW STUDENTS
When adding new students, usernames should be unique. You may want to use school email addresses if your students have them. If not, we recommend using the following format first.last.graduationyear@districtname (i.e. ben.button.2026@fayette) or keeping the format used in previous years.
To Add New Students:
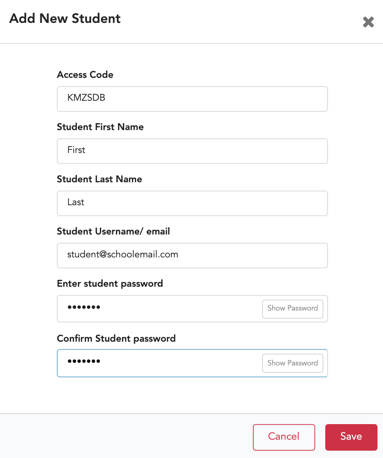
1. Click the red + Add New Student button.

2. Fill out all fields in the Add New Student form and Save.
*If you have multiple classes, repeat these steps for each class.
For instructions for creating a class, click here.
For information about editing student accounts click here