Assignments are made within the course for a class. To make an assignment, locate the resource you want to assign, and select Assign. For example, to assign a chapter Vocabulary Builder, you will go to the chapter, locate the Vocabulary Builder, and select Assign. To assign a Benchmark, you will go to the Course Introduction folder, find the Benchmark, and select Assign. Here are step-by-step instructions for making an assignment:
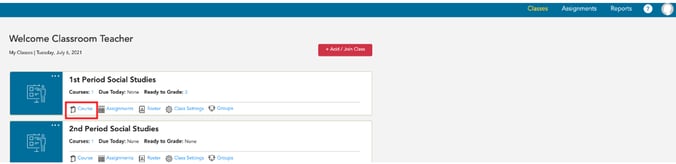
1. From your dashboard of classes, select Course from the class card.
2. Open the course.

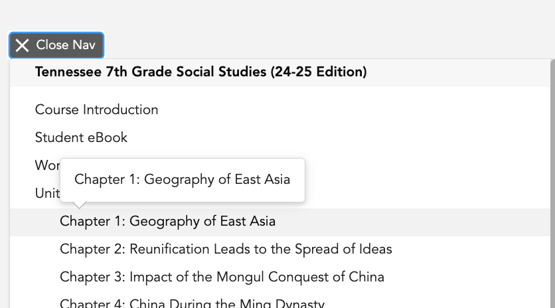
3. Select the red Quick Nav button  (on the left). When you select Quick Nav, you will see the entire Table of Contents.

4. Select a folder, unit, chapter, etc. (Example below, we selected Chapter 1)
5. Then, locate the resource you want to assign, and select Assign.
 6. You will see a pop-up box with all of your assignment settings.
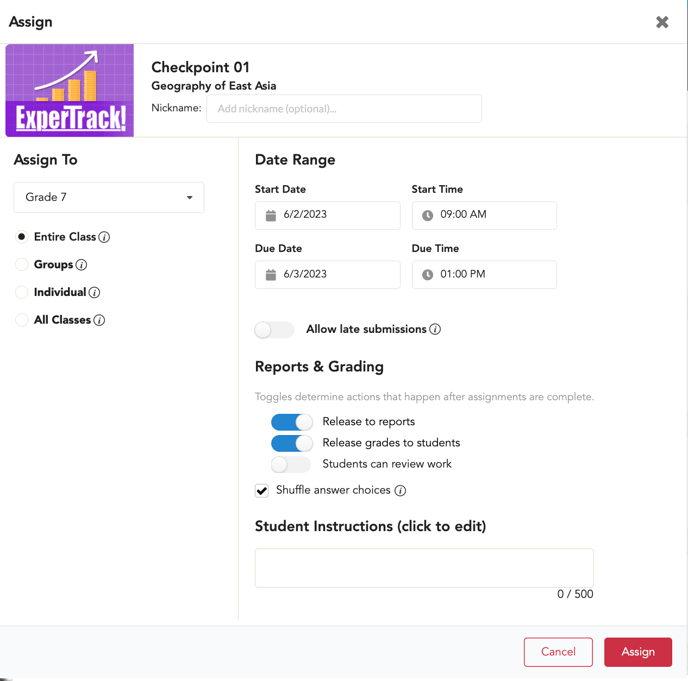
7. Make your selections. **Please see details below or skip to # 8.
Assignment details include:
- Start date and time (when access will open for students)
- Due date and time (when access will cut off for students)
- Optional: You can allow late submissions by sliding the toggle on and setting a late due date and time.
- Assign to (which students will receive the assignment and how you will manage the assignment)
- Class (Individual Assignments) - assigns to every student in the class as individual assignments. Edits can be managed by class or by individual student assignments.
*Teachers can easily assign to every student in a class but also make changes for individuals.
- Class (Individual Assignments) - assigns to every student in the class as individual assignments. Edits can be managed by class or by individual student assignments.
-
- Groups (Individual Assignments) - assigns to every student in the group as individual assignments. Edits can be managed by group or individual student assignments.
*Assigning to Groups allows teachers to easily assign to a subset of students while also allowing changes to be made for individuals rather than the whole group. - Individual - assigned to selected individuals. Edits are managed by individual assignments.
- All Classes - assigned to selected classes within the same grade level. Edits can be managed by class or by individual student assignments.
- Groups (Individual Assignments) - assigns to every student in the group as individual assignments. Edits can be managed by group or individual student assignments.
- Settings for Reports and Grading (manage if and when to release the grades to reports, share grades with students, and allow students to review)
-
- Release to Reports for Class Assignments - data for auto graded and manually graded assignments will go to reports as grades populate and the status moves to graded (whether done automatically or manually). So, for assignments that include teacher grading, data will move to reports as each the assignment is graded and the status is changed to graded.
- Release grades to students - For class and individual assignments, students will see scores as the assignment is graded.
- Students can review work - For class and individual assignments, students will have access to review the submitted assignment.
- Shuffle answer choices (when applicable) is the default. You have the option to uncheck this so that answer choices are in the same order for all students. See the Shuffle option unchecked in the image below.

- Student instructions - (Teachers can include instructions with any assignment)

8. Select Assign.

9. As a way to easily assign a resource to various students or groups of students with different due dates and times, after selecting assign, you will see a pop up confirming the creation of your assignment and asking if you want to assign this resource to other students, groups or classes. If you would like to make an additional assignment of this resource to another student or group of students, select Yes and repeat these steps. If you do not want to make an additional assignment, select No.
