
 5. You will see a pop-up box with all of your assignment settings.
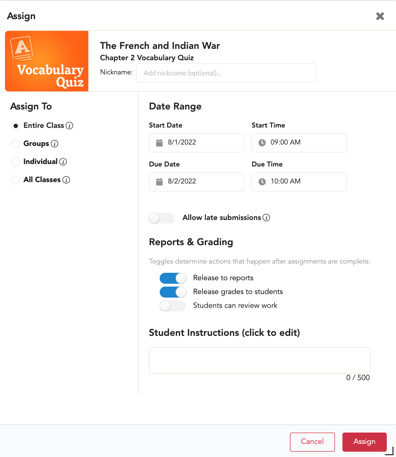
- Who to assign to - which students will receive the assignment and how you will manage the assignment.
- Class (Individual Assignments) - assigns to every student in the class as individual assignments. Edits can be managed by class or by individual student assignments.
*Teachers can easily assign to every student in a class but also make changes for individuals. - Groups (Individual Assignments) - assigns to every student in the group as individual assignments. Edits will be managed by group or individual student assignments.
*Assigning to Groups allows teachers to easily assign to a subset of students while also allowing changes to be made for individuals rather than the whole group.
- Individual - assigns to selected individuals. Edits are managed by individual assignments.
- All Classes (Individual Assignments) - assigns to selected classes within the same grade level. *Teachers can easily assign to every student in multiple classes of the same grade level but also make changes for individuals.
- Class (Individual Assignments) - assigns to every student in the class as individual assignments. Edits can be managed by class or by individual student assignments.
- Assignment nickname (visible to you and to students) (OPTIONAL)
- Start date and time - when access will open for students). An assignment is "locked" to students until the start date and time.
- Due date and time - when access will cut off for students
- Allow late settings - beyond the due date, teachers can allow late submissions by setting a late due date. Late assignment submissions will have a late symbol in submissions on the submitted date. Scores will not be affected by a late submission. (OPTIONAL)
- Settings for Reports and Grading (managing if and when to release the grades to reports, share grades with students, and allow students to review a submitted assignment)
- Release to Reports - Data will move to reports when the submission status changes or is changed to graded.
-
- Release grades to students - Students will see scores once submission is graded.
- Students can review work - Students will have access to review the submitted assignment immediately. Please note, allowing review does not allow students to make changes.
- Student instructions - Teachers can include instructions with any assignment. (OPTIONAL)
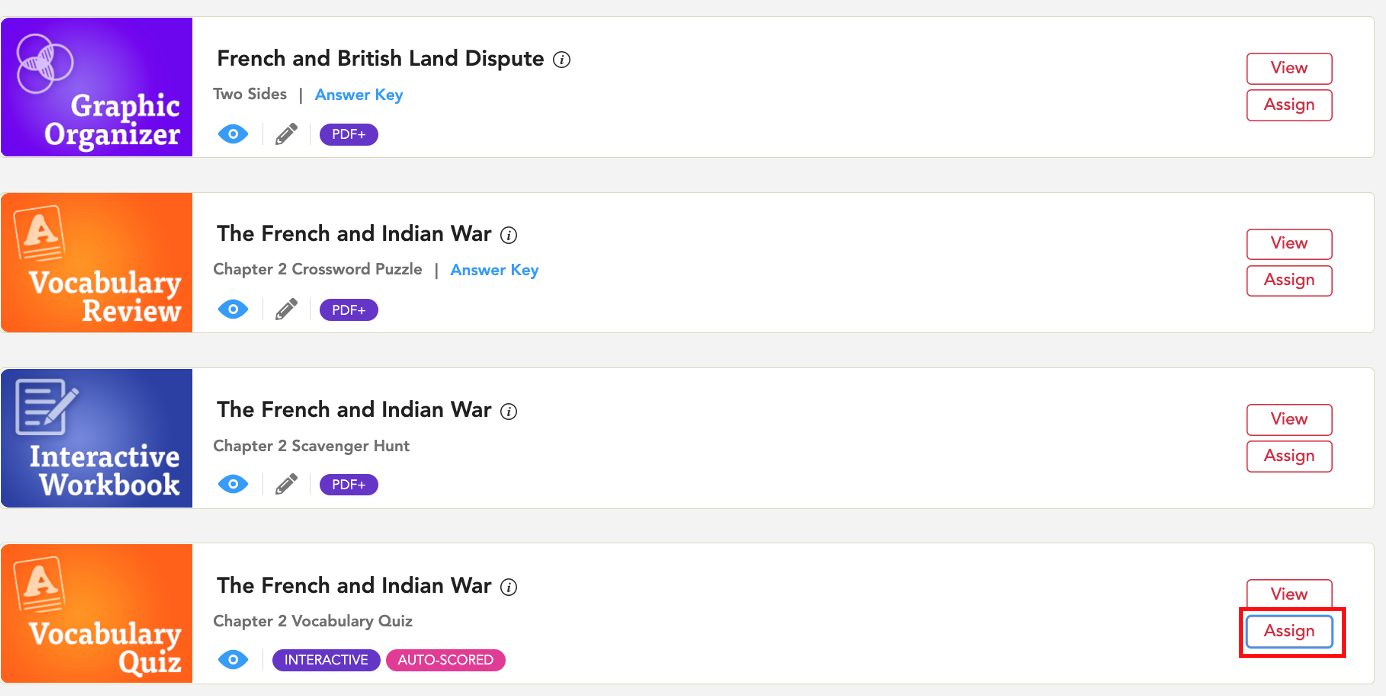
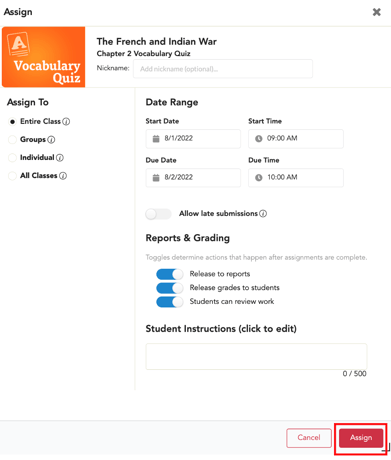
7. Select Assign.
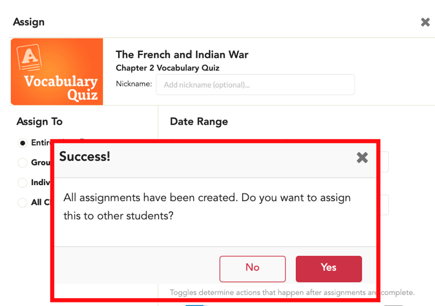
8. As a way to easily assign a resource to various students or groups of students with different due dates and times, after selecting assign, you will see a pop up confirming the creation of your assignment and asking if you want to assign this resource to other students. If you would like to make an additional assignment of this resource to another student or group of students, select Yes. If you do not want to make an additional assignment, select No.
9. After making an assignment, to view submissions, grade submissions, or edit the assignment settings, you will go to the assignment Submissions page.
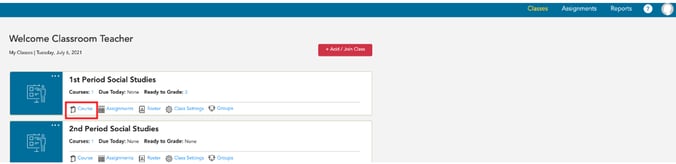
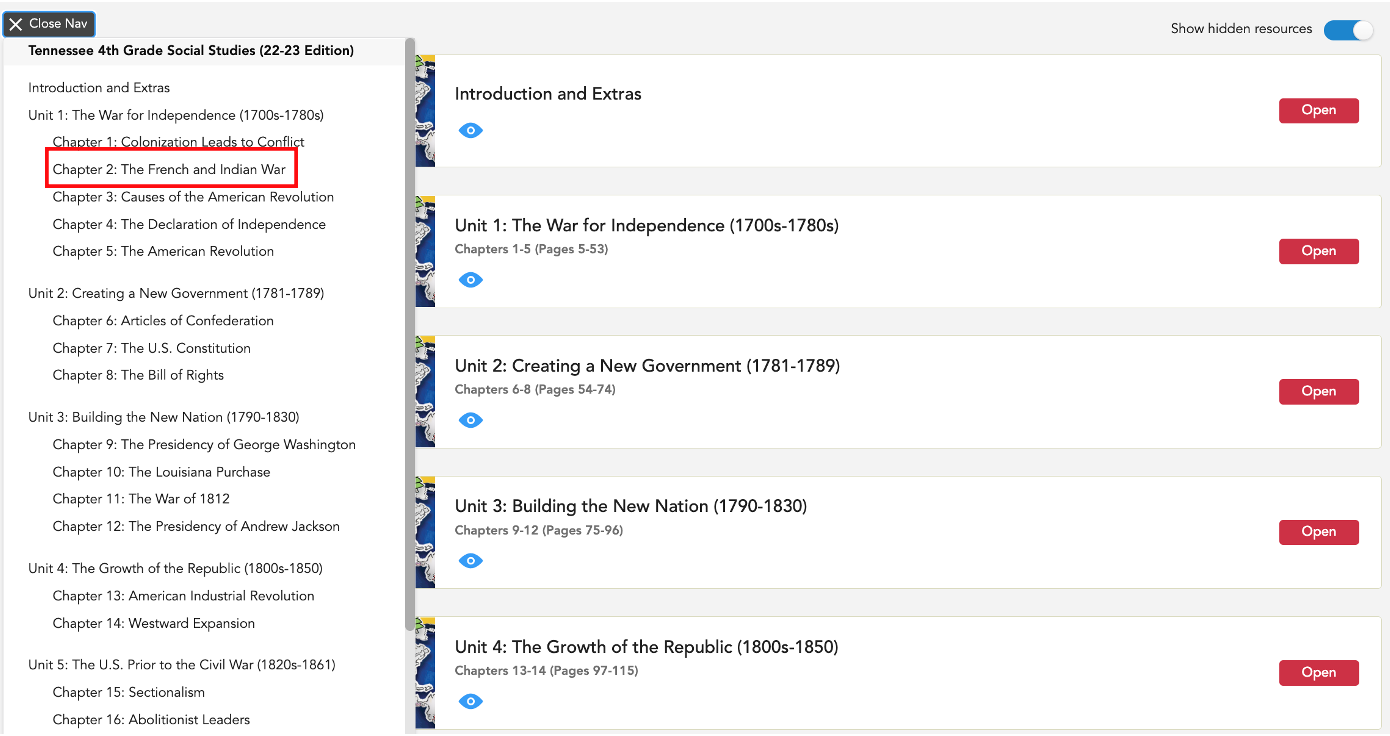
10. To go directly to the submissions for an assigned resource, select the assignments calendar from the resource card in the chapter.
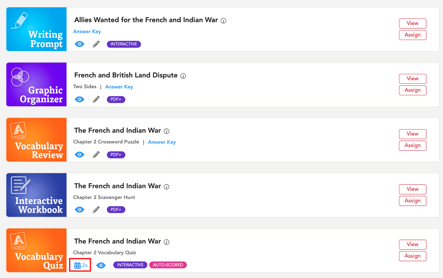
Selecting the calendar icon will take you directly to the submissions page for that resource.
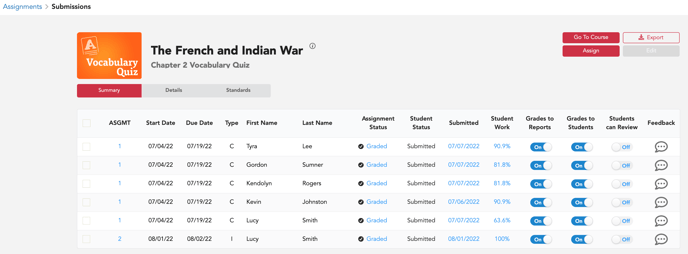
11. In Submissions, you see every assignment within the class for that resource and can easily manage all assignment instances for the class.

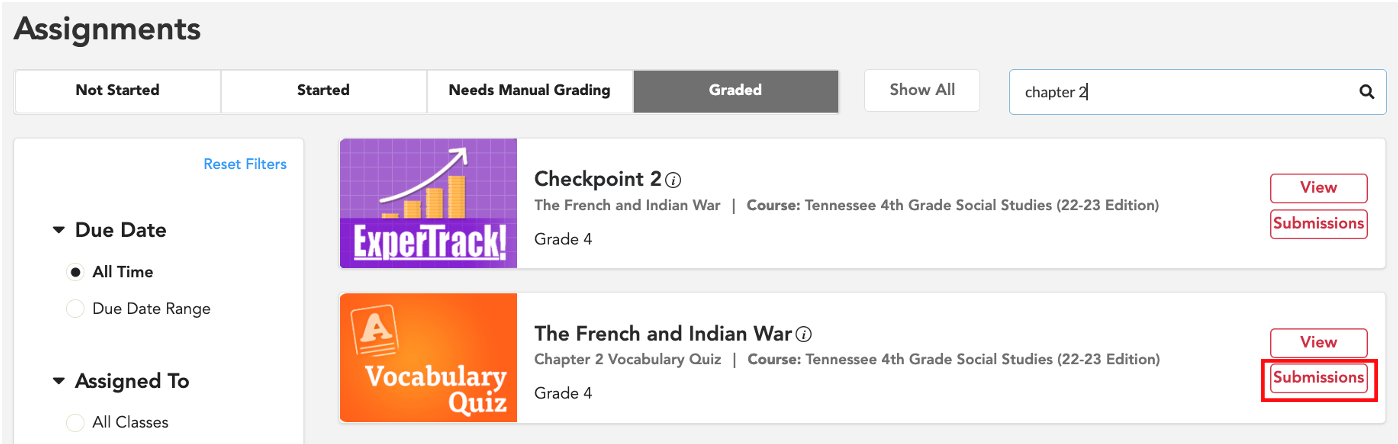
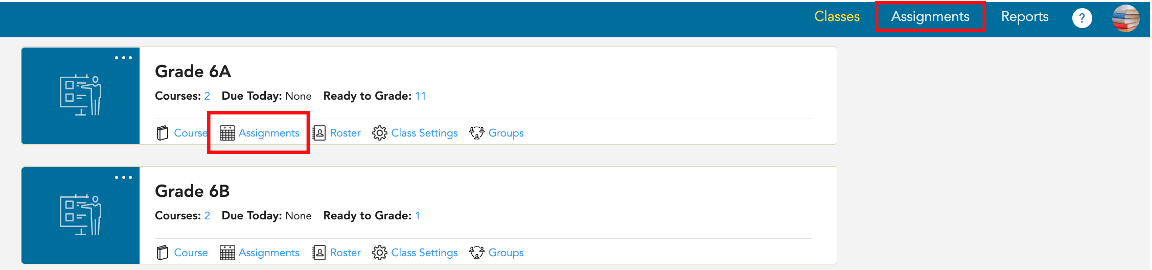
****Another way to get to the Submissions page for an assignment is to search for the assignment on the Assignments page. To do that, select Assignments from the upper right corner or the class card.
 The Assignments page allows you to search by assignment status.

- Not Started includes any resource with at least one assignment with a start date in the future or that has not been started.
- Started includes any resource with at least one assignment that has been accessed but not yet submitted.
- Needs Manual Grading includes any resource with at least one assignment that has been submitted but not yet graded.
- Graded includes any resource with at least one assignment that has been submitted and graded.
- Show All includes all resources assigned to the class.
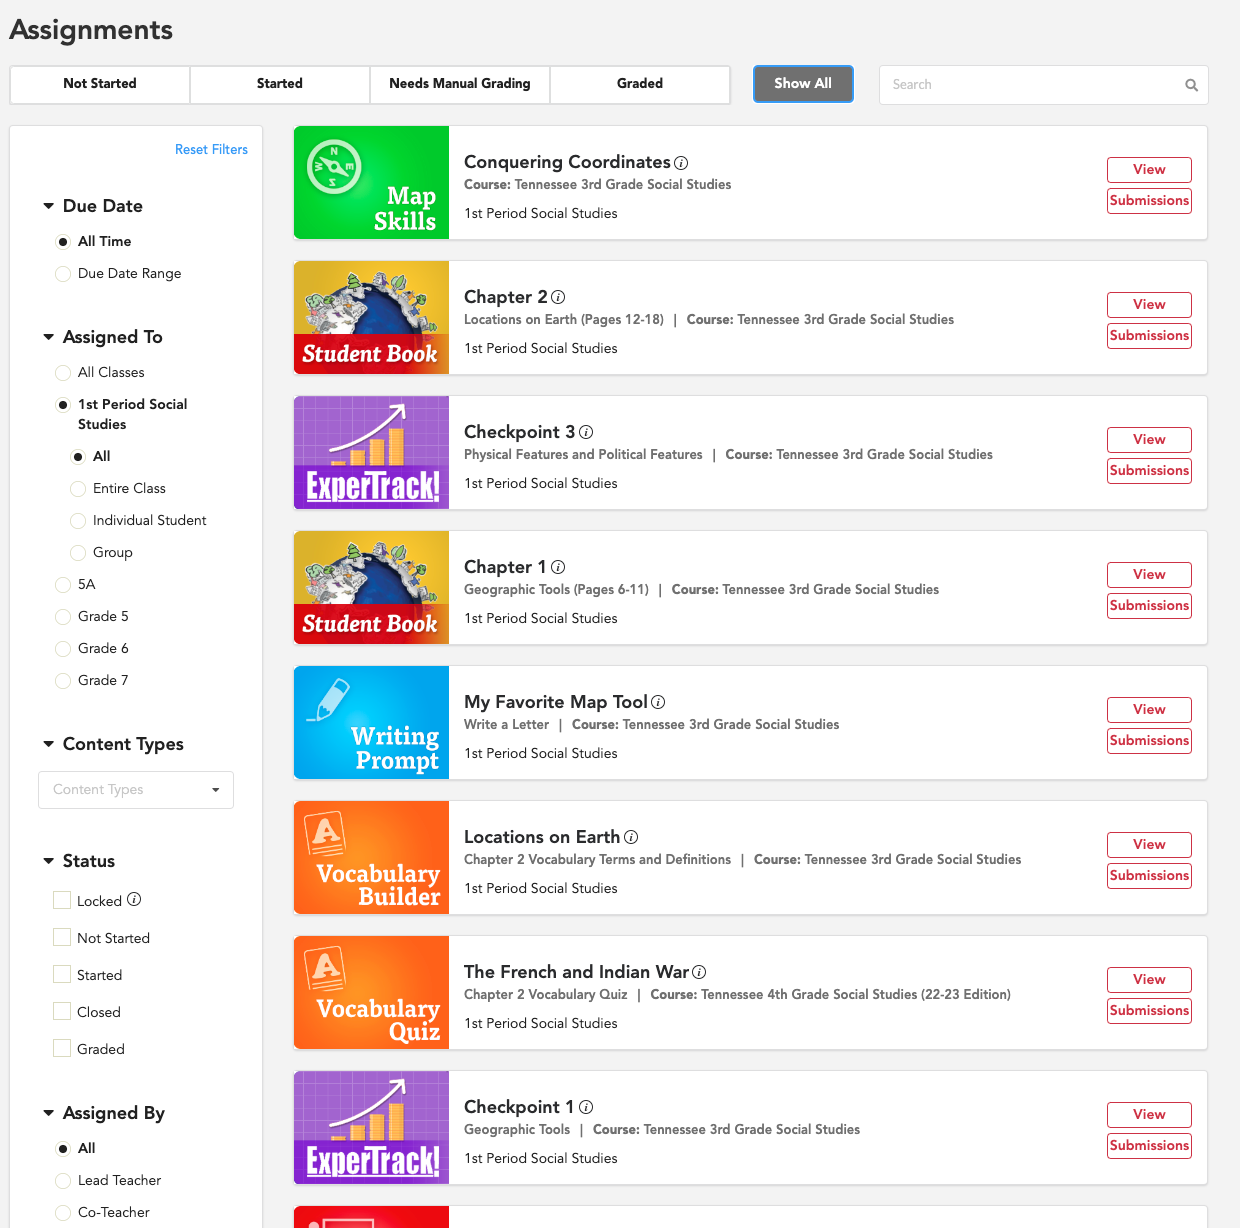
After locating the assignment, select Submissions.