How to Build an ExperTrack Assessment Using the Item Bank
1. From the Teacher Dashboard, select Course in blue text under your class name.
 2. Locate your ExperTrack Item Bank, and select Open.
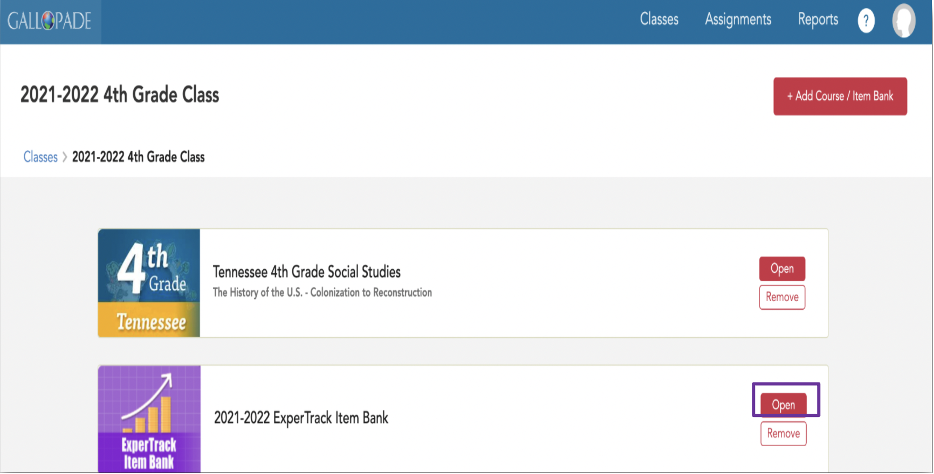
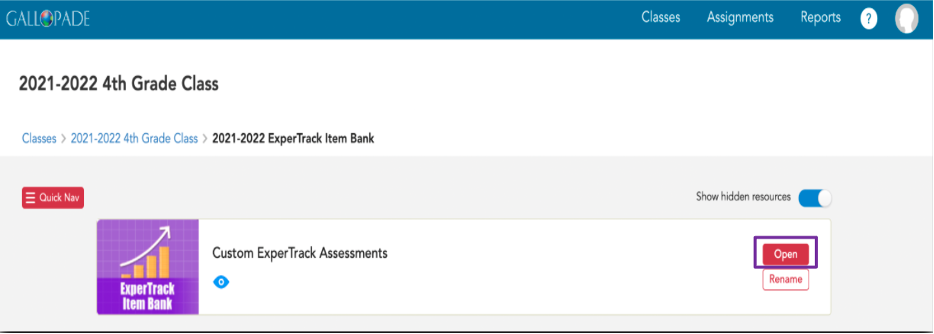
3. Select Open to open your custom ExperTrack assessments.
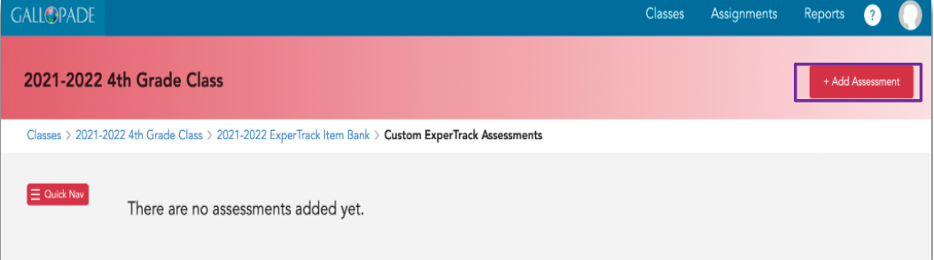
4. Select +Add Assessment in red from the top right corner.
5. Select +Create New Custom Assessment in red from the top left corner.

6. Enter the Name your custom assessment and press Create.

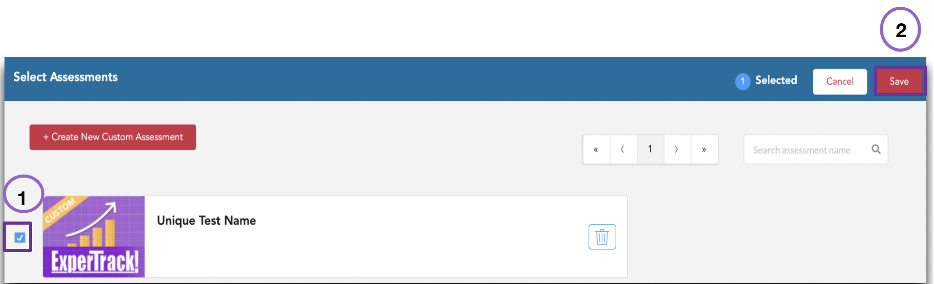
7. Select the checkbox to the left of your new Custom ExperTrack Assessment and press the red Save button in the top right.
8. You have now created your first assessment, and it is in draft mode. To add questions to your assessment, select Draft on the right side of the assessment card.
9. This will take you to the Assignment Editor screen. Use the dropdown to select the Item Bank. You should see the Item Bank for your state.

10. You will see the option to search by standard or tags on the left and the bank of items on the right.

11. A. To search by standard, select a grade level and standard or standards.

B. To also search by Tags, select the Tags tab and then search by keyword, question type, topic, or where used in the course.

12. Select items, and click Add.

13. To see additional information for an item, click the kebab ![]() and then select Info.
and then select Info.

This will provide details about the item.

14. After making your selections, select Add Items from the top right.

15. Select Place all items shown below.

16. You will see your items. Items can be moved up or down on the list, either by dragging and dropping or using the arrows to the right of the question. To randomize the order, press Randomize.

17. Select Add More Items to add more items to the assessment.

18. Click the X to remove item from assessment.

19. Click Preview to view the assessment.

20. To exit the preview, click Done.

21. When you are finished, select Exit.

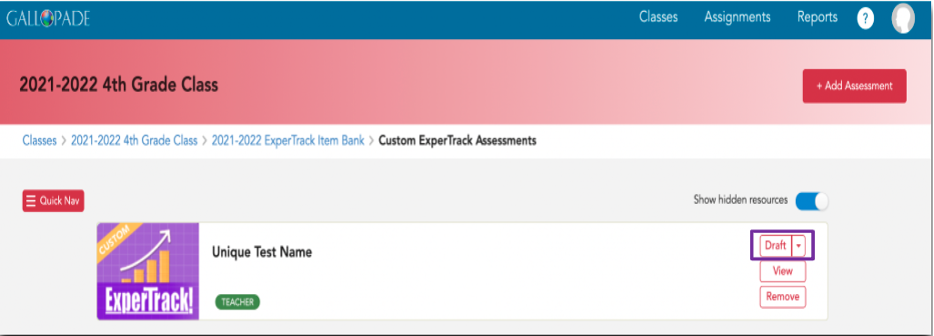
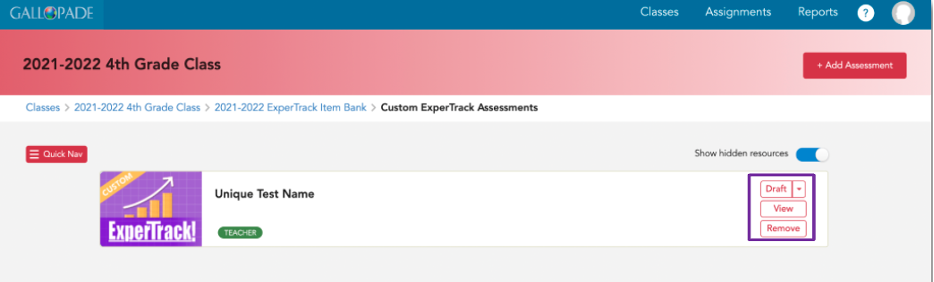
22. You will see the test in you list of assessments.

23. From here, you will see Draft, View, and Remove.

A. Click Draft to edit the assessment.
B. Select the triangle next to Draft and Make Assignable to publish your assessment and make it assignable. 
D. Select Remove to remove the assessment from your list of assessments
***Once you make the assignment Assignable, you cannot change it back to a draft, so make sure to complete all edits before completing this step. Press No, continue editing if you want to make changes. Click Yes, Make Assignable when you are completely finished editing this assessment.

24. When you are ready to assign), select Assign and complete the assignment settings.
