ADDING NEW STUDENTS
1. To add a student who does not currently have a Gallopade account, select Classes from the top right menu of your Admin Dashboard or from Classes to the right of the school name.

2. Use the sort and/or filter tools to search or filter by school, class name, class ID, teacher first name, or teacher last name.

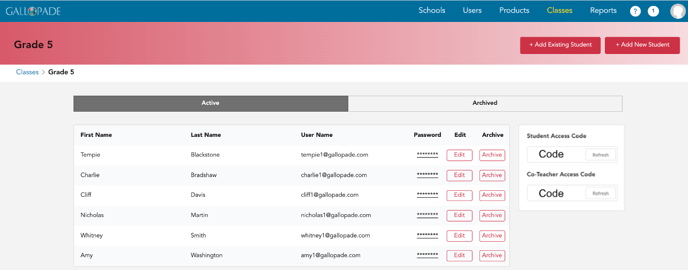
3. Find the correct class and select View to the right of the class name.

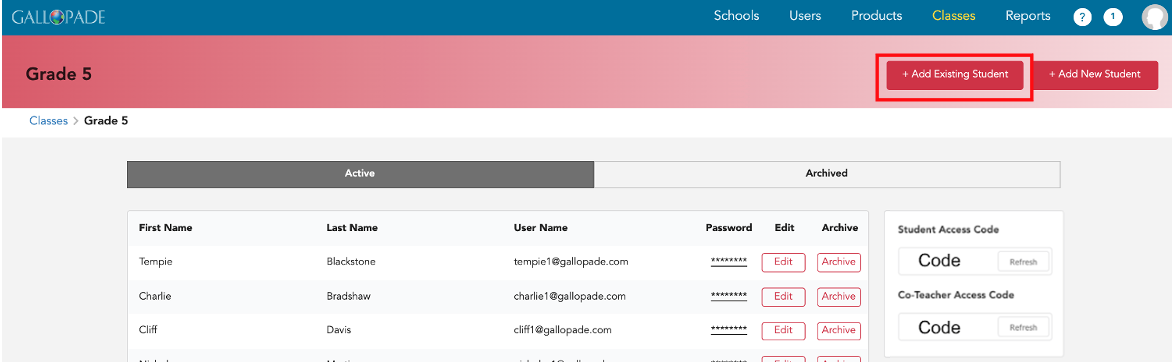
4. This will bring you to the Class Roster screen.
5. To add a student without a Gallopade account to this class, select +Add New Student in the top right corner.
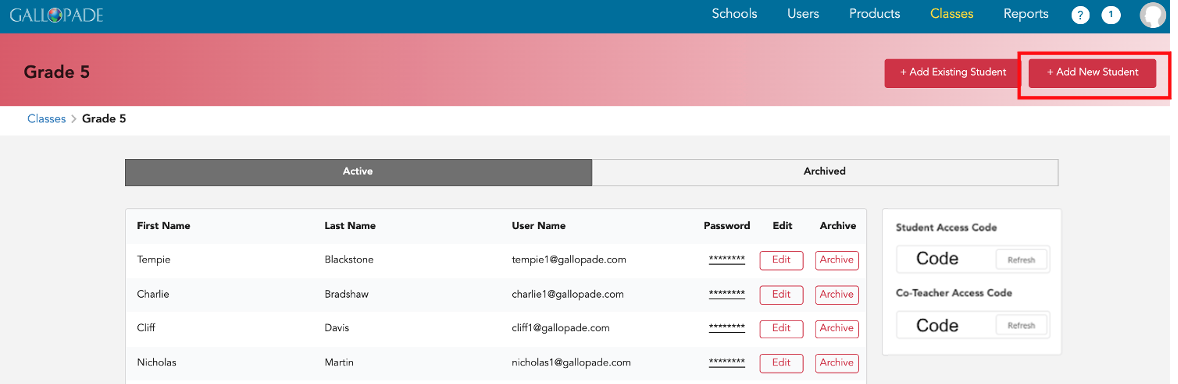
When adding new students, usernames should be unique. We recommend using the following format first.last.graduationyear@districtname (i.e. ben.button.2026@fayette) or keeping the format used in previous years.
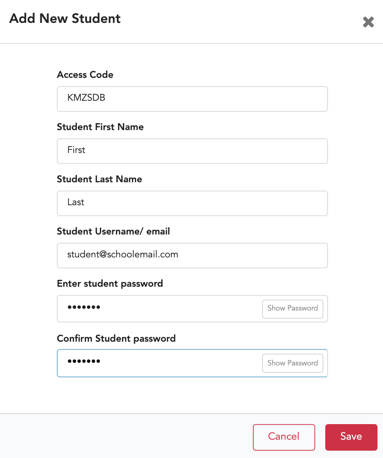
6. Fill out all fields in the Add New Student box and Save.
ADDING EXISTING STUDENTS
For every student who already uses Gallopade Online, you will add their existing student account to the class. To Add Students with Existing Accounts:
1. Select Classes from the top right menu of your Admin Dashboard or from Classes to the right of the school name.
2. Use the sort and/or filter tools to search or filter by school, class name, class ID, teacher first name, or teacher last name.
3. Find the correct class and select View to the right of the class name.
4. This will bring you to the Class Roster screen.
5. To add a student who already uses Gallopade to this class, select +Add Existing Student in the top right corner.
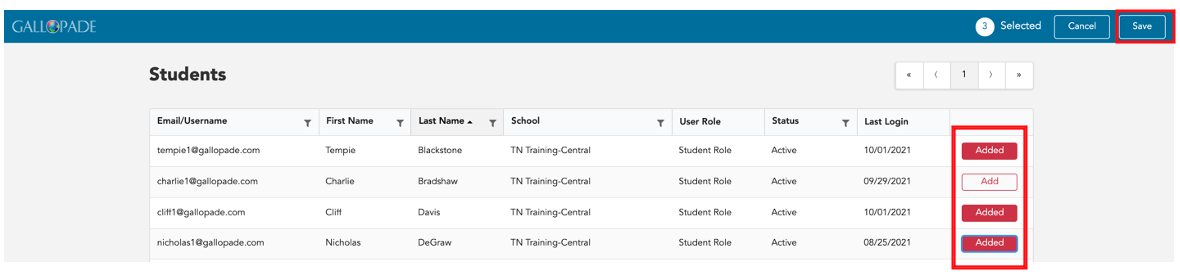
6. Find students by sorting or searching by username, first name, or last name.

7. Select Add for each student you would like to add to the class. The white add button will change to a red Added button once the student is selected. (You can click Added to de-select.) Then click Save in the upper right when ready.