1. From your teacher dashboard, before adding the course, you will see Courses: None.

2. To add the course, select the blue Course button.

3. That will take you to a page where you will see No content added yet with a red +Add Course/Item Bank button in the upper right.

4. Select the red + Add Course/Item Bank button in the upper right corner.

5. You will then see the Gallopade courses (purchased for your school) by grade level. Select the appropriate grade-level course by putting a checkmark √ in the box to the left of the corresponding grade level. Please note, you will NOT select the View button. 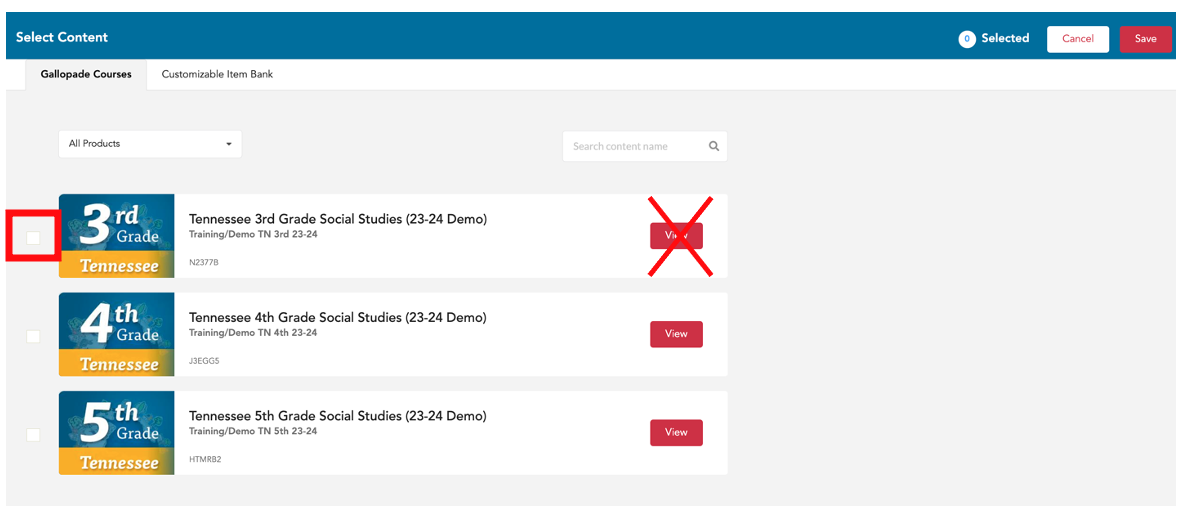
6. Then select Save from the upper right corner. Please note, you will NOT select the View button.
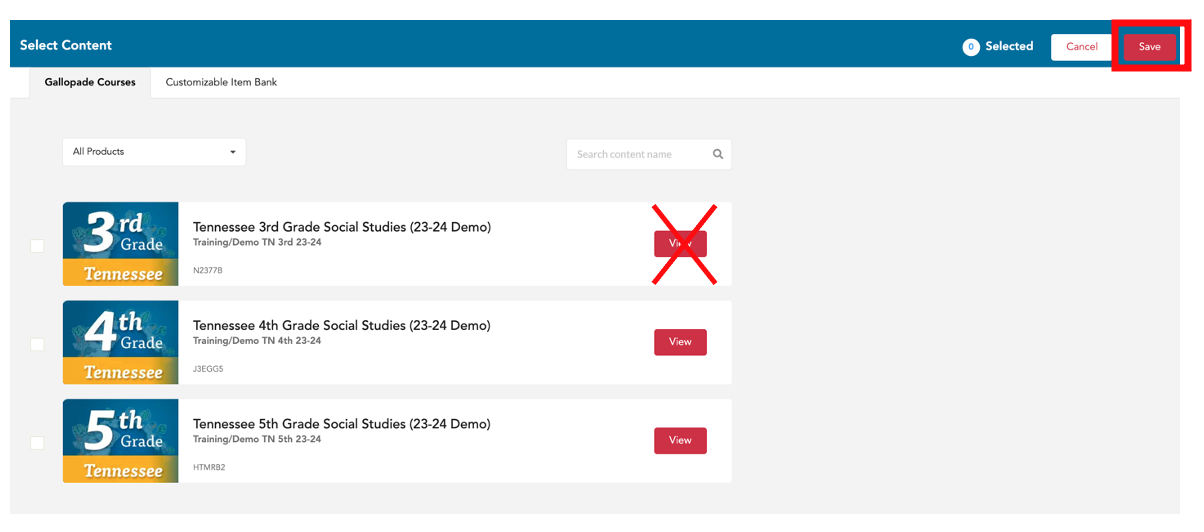
7. You will then see the name of the class and the course you added.
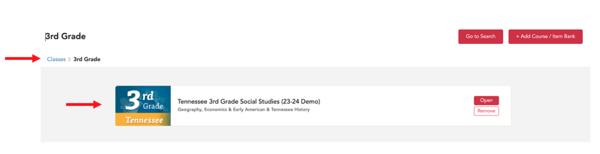
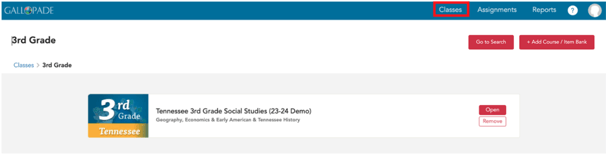
8. This needs to be completed for every class. To repeat the steps for additional classes or to go back to your dashboard, select Classes from the top menu.
*This only needs to be completed once per class; so after you've added courses to your classes, you should be ready to go!
For step 5, if you do not see any courses listed, please contact us.
For instructions for how to add students for manual rostering, click here .
For instructions for how to add a class for manual rostering, click here.
For SSO users, if you would like to change the display name for a class, click here for instructions.