
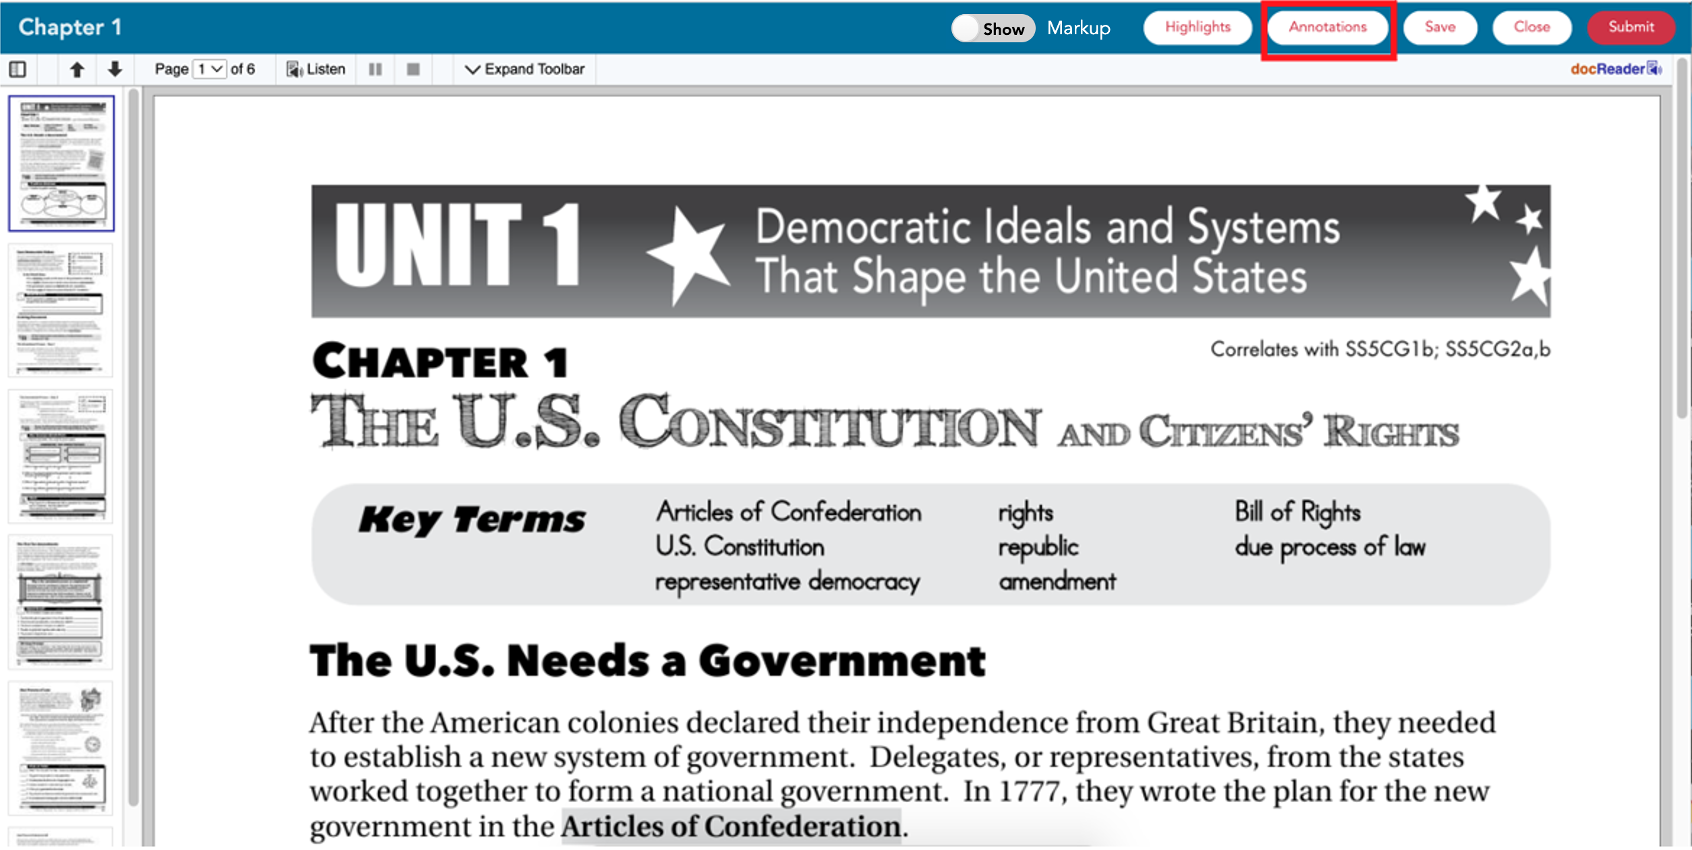
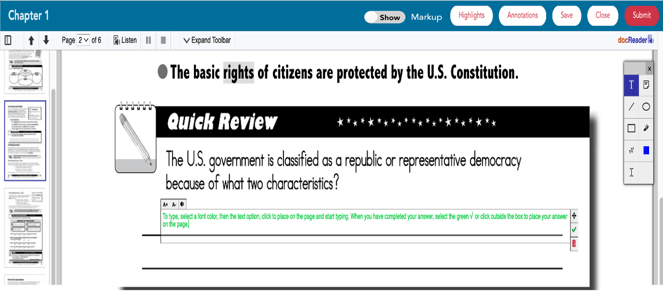
To complete a PDF+ assignment, students will open the resource, and select Annotations from the top right.
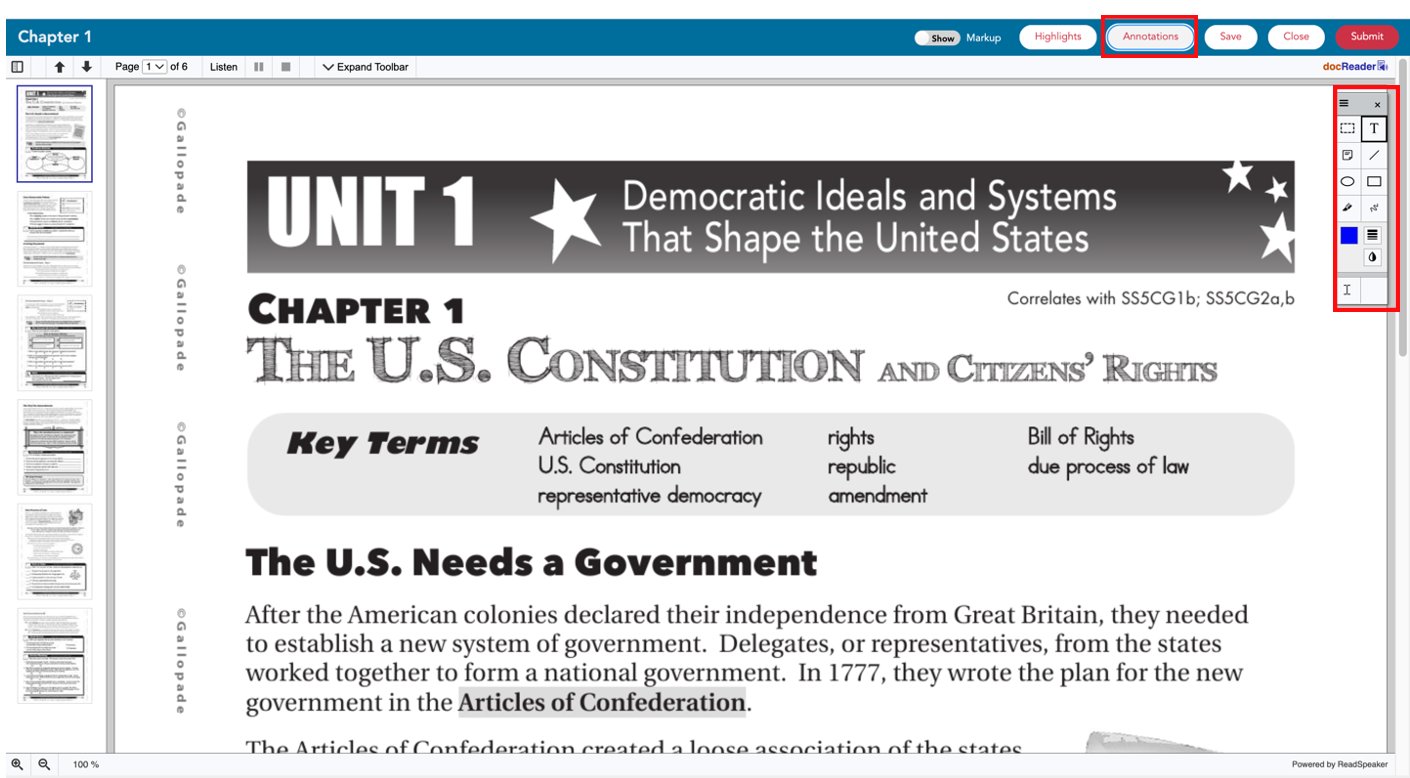
Selecting annotations will open a full menu of annotation tools on the top righthand side.
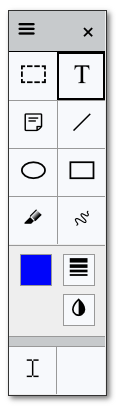
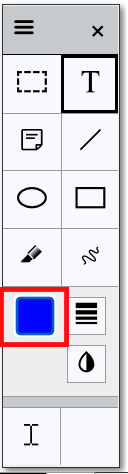
Here is a zoomed-in look at the menu of tools.
Select the Marquee Select tool to highlight/select an area of the page by click and dragging. ![]()
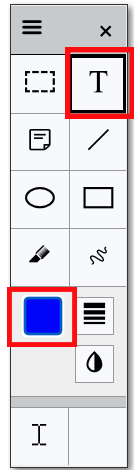
Select the Text tool to type directly on a page. ![]()
Select the Sticky Note tool to add a sticky note. ![]()
Select the Line tool to draw a line. ![]()
Select the Ellipse tool to place a circle on the page .![]()
Select the Rectangle tool to place a rectangle on the page. ![]()
Select the Marker tool to place a shaded rectangle on the page, .![]()
Select the Freehand tool to draw. ![]()
Select the Select Color option to choose a color for the tool (Text, Line, Ellipse, Rectangle, Marker, or Freehand). ![]()
Select the Stroke width tool to change the width of freehand tool. ![]()
elect the Read Text option to select text for Read Aloud while using annotations. ![]()
Select the Marquee Select tool, then click and drag to select an area of the screen in order to select multiple annotations for editing or to delete.![]()
Select a tool (Text, Line, Ellipse, Rectangle and Freehand) and then select the Stroke Width tool to adjust the thickness. ![]()
Select the Transparency tool to adjust opacity/transparency of a tool (Text, Line, Ellipse, Rectangle and Freehand). ![]()
Annotation tools default to the text/typing tool and the color blue, so upon selecting annotations, students can click on the page and start typing in blue.
To change the color, click the select color option
Then select a color.
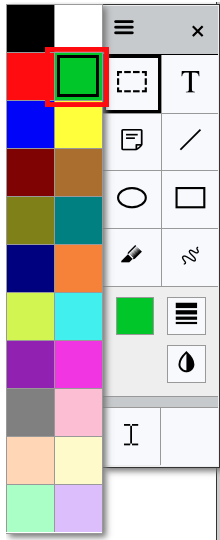
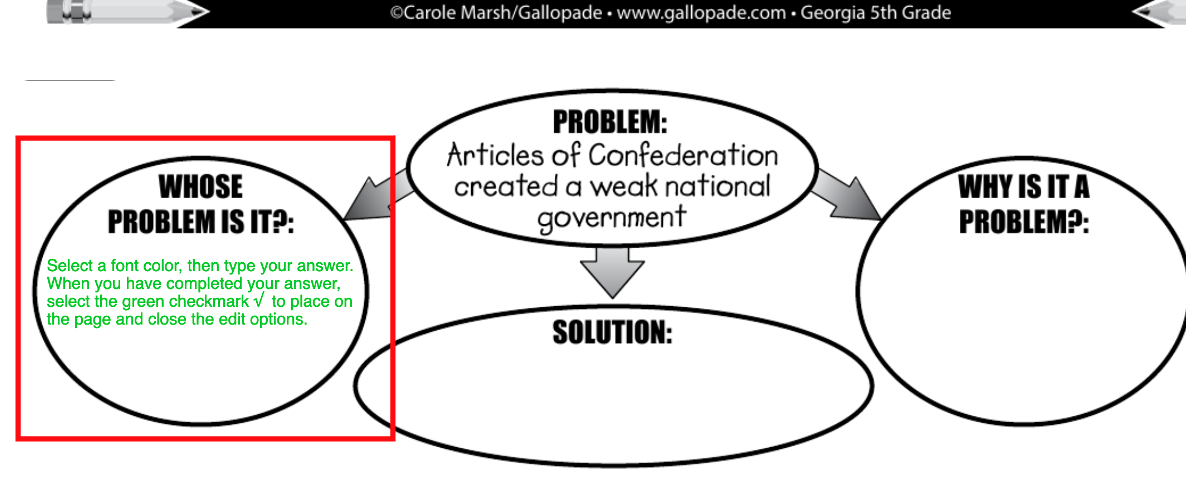
Then click a place on the page to use the tool. The image below shows what text looks like after selecting the color of green. *You can also change the color for other tools.
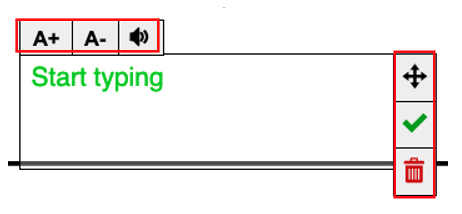

Click A- to make the font smaller.

Click the Read Aloud button to hear typed text read aloud.

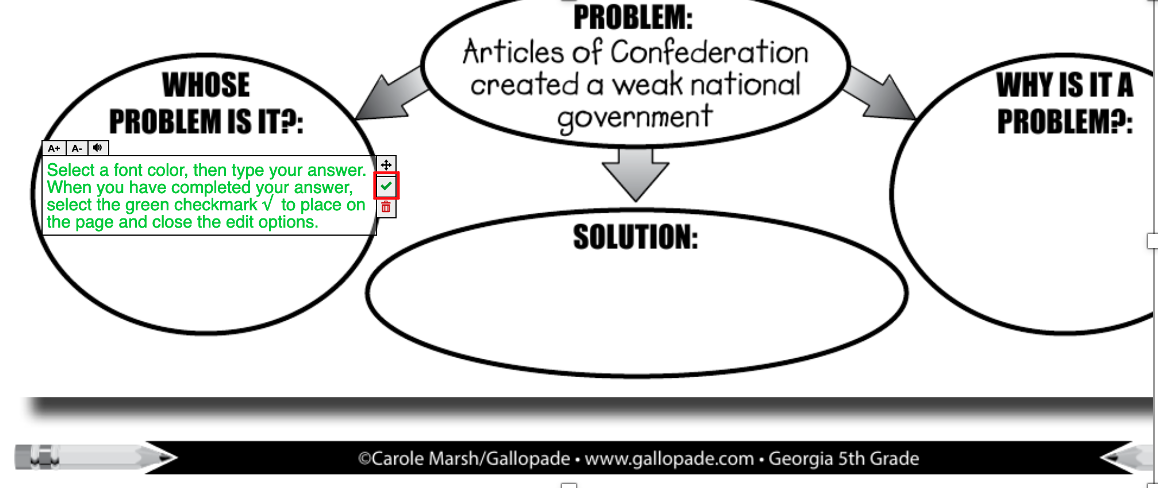
Click the arrows (and then drag) to move your text on the page.
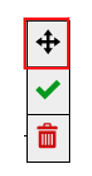
Click the red trashcan to delete annotations in the box.

Select the green checkmark √ (or click on the page outside of the box) to place the annotations on the page and close the text box when answer is complete.

Once you select the green checkmark to close your annotations or click outside the box, the editing box will disappear.
In order for annotation to automatically save, you must either select the green checkmark (√) or click on the page outside the annotations box.
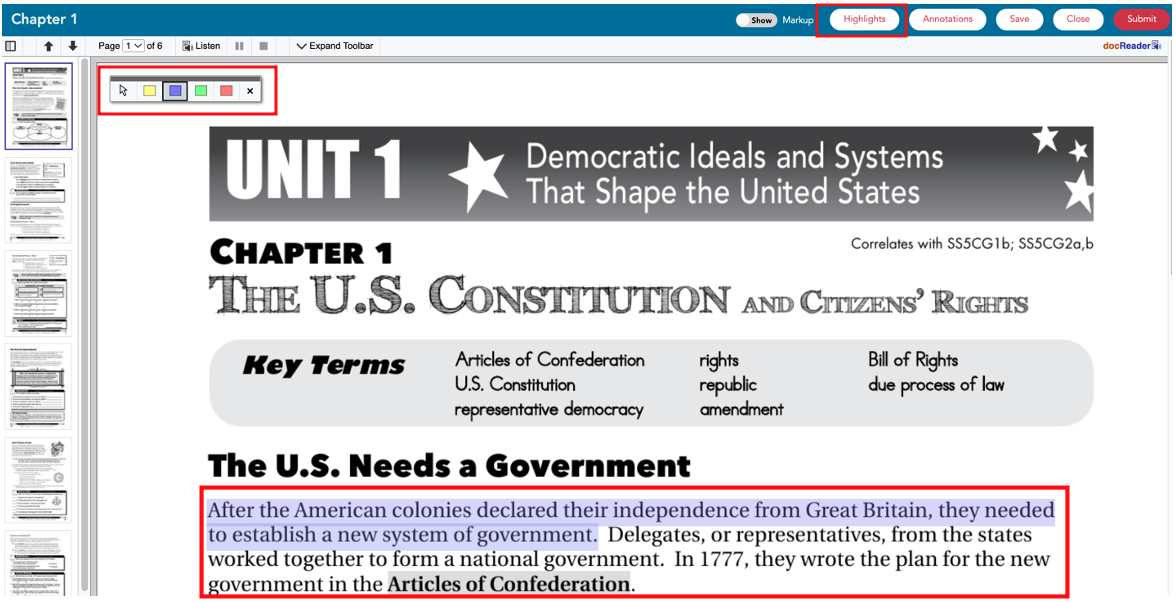
To highlight text, select Highlights button from the top right.

This will open the menu of colors available for highlights.
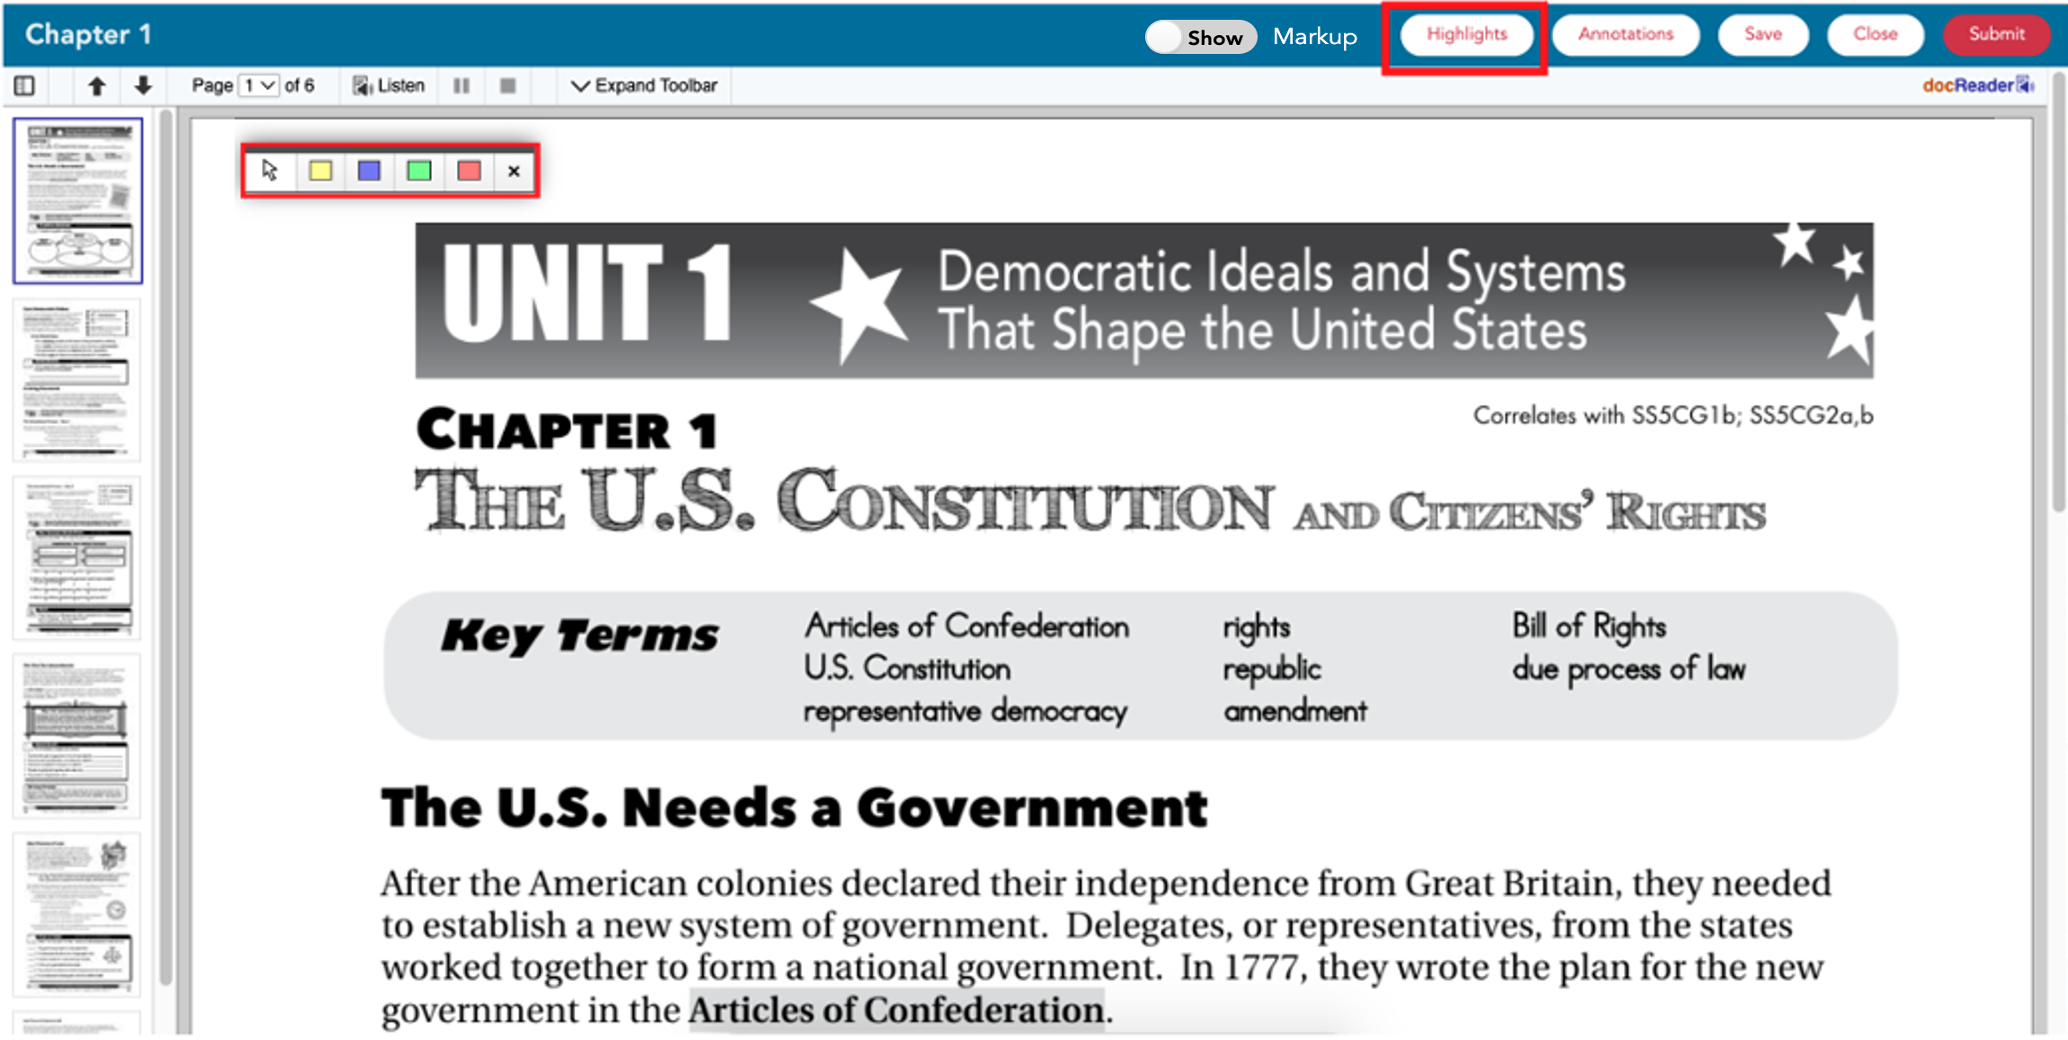
Select a color, then click and drag to highlight text on the page.
 If your assignment has more than one page, there are 3 ways to turn the page.

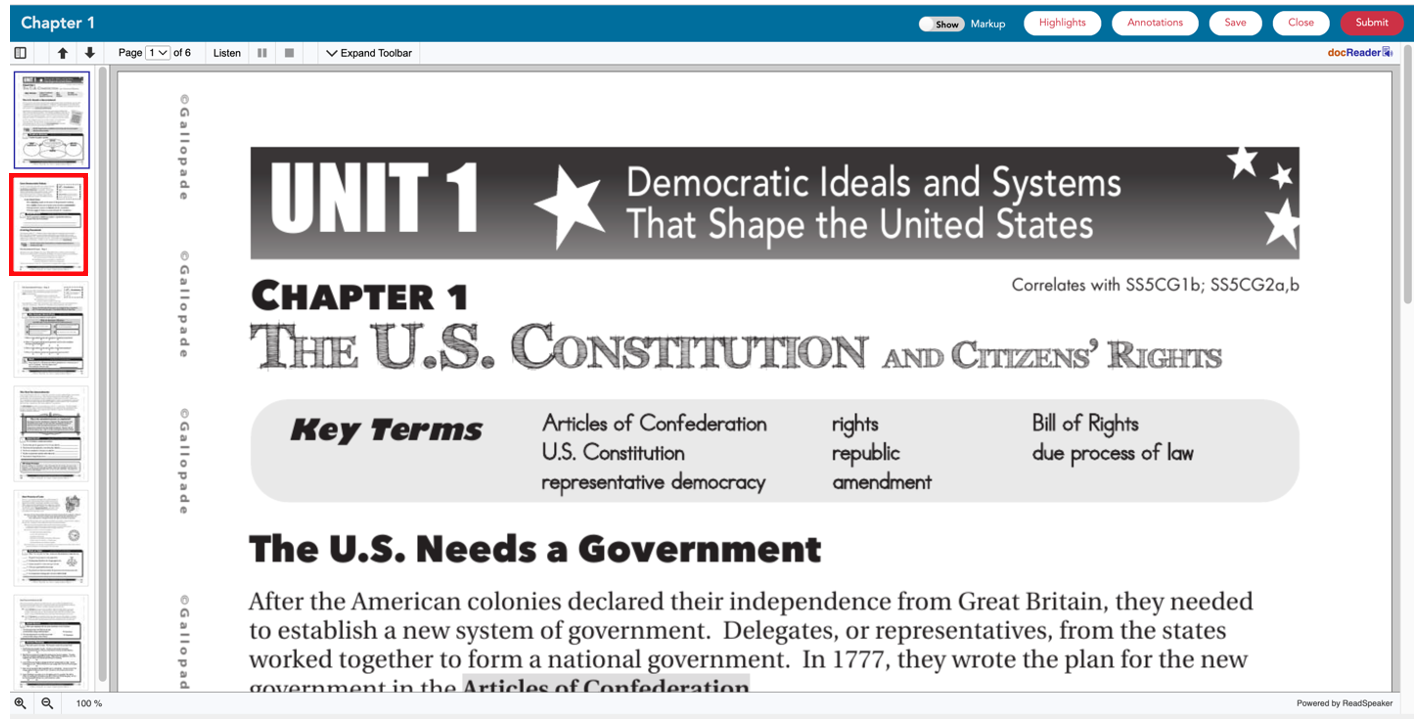
Select a page in the left column.
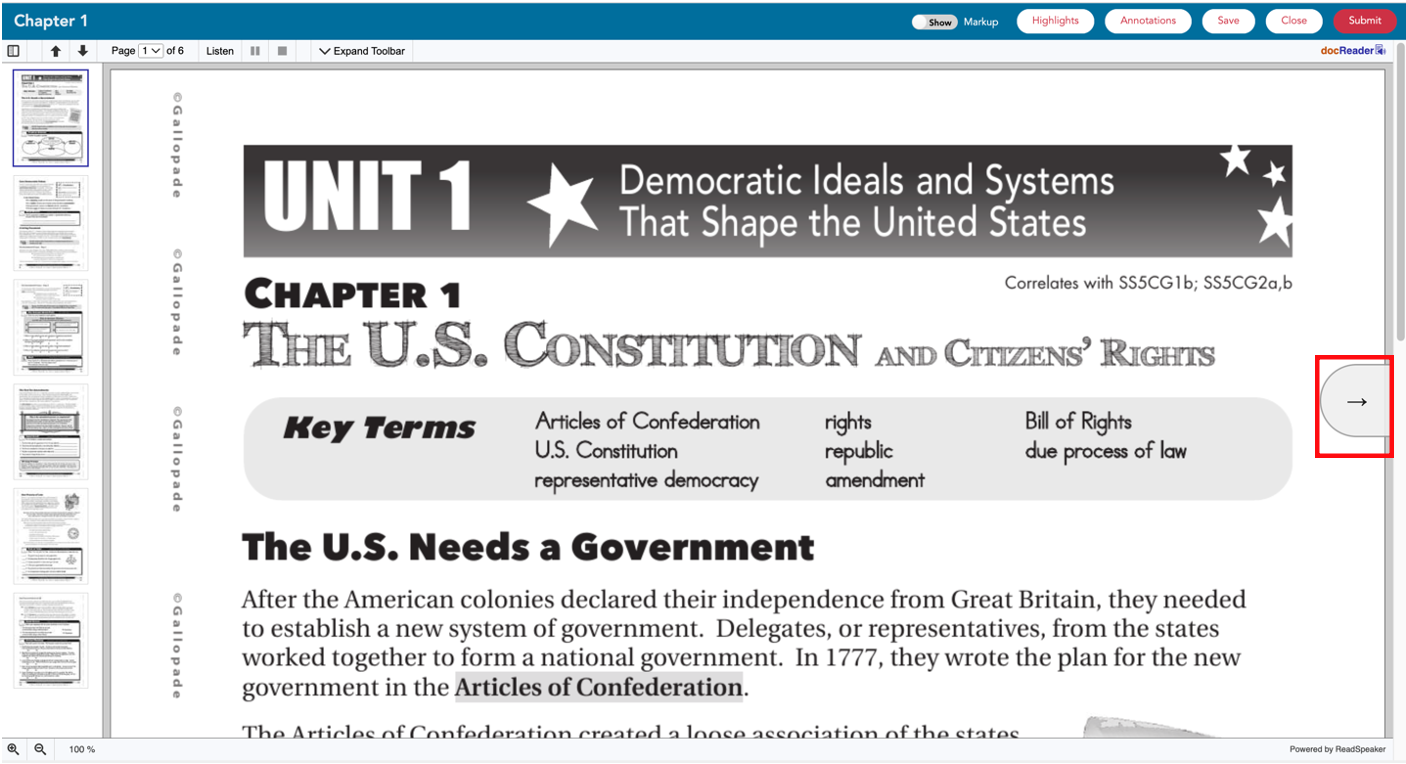
Use your mouse to hover the right side of the page. A right arrow will appear. Click the right arrow to go to the next page.
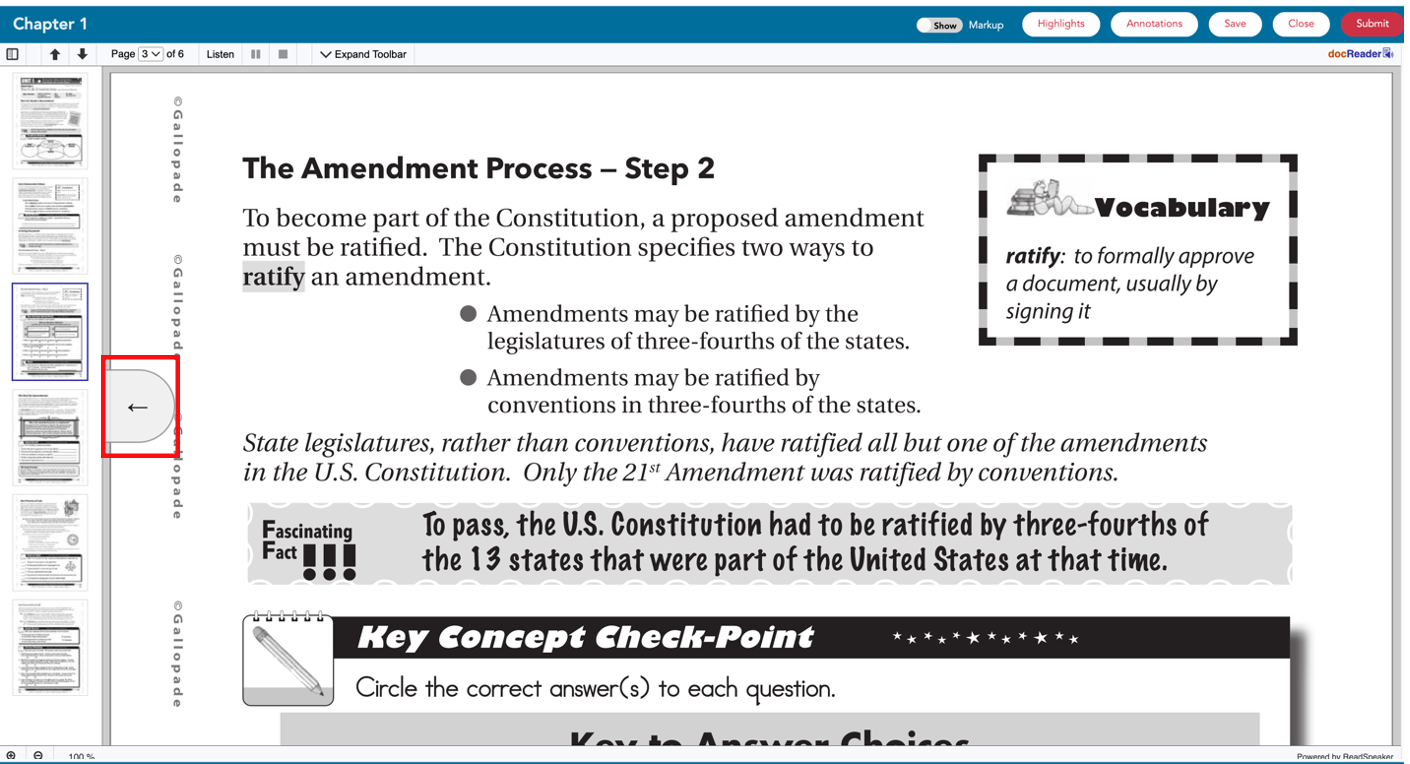
Use your mouse to hover the left side of the page. A left arrow will appear. Click the back arrow to go to the last page.
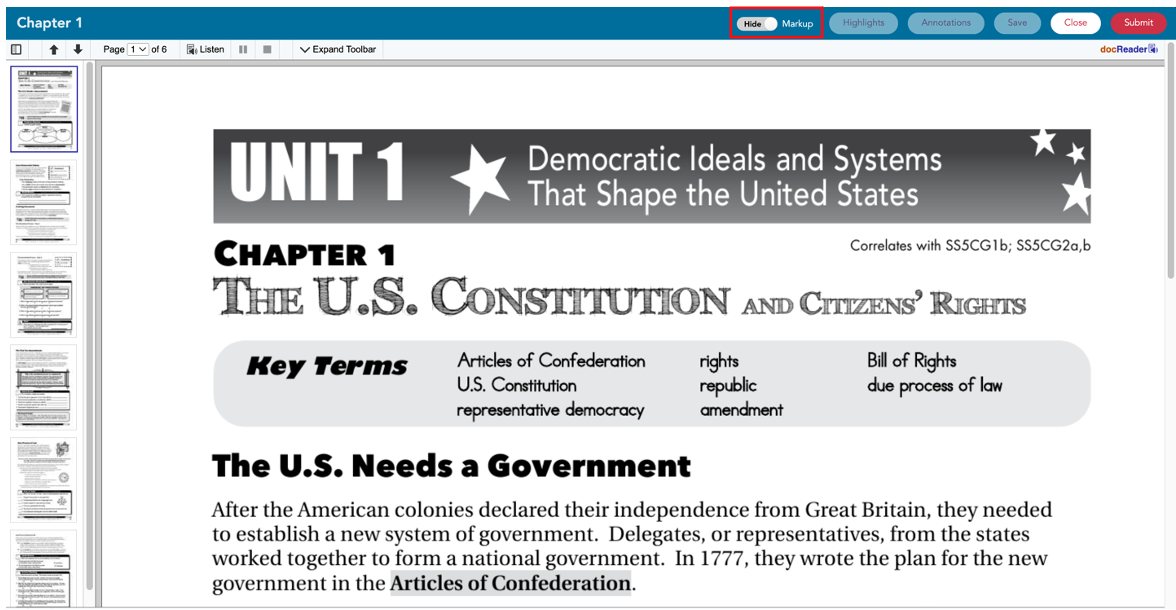
To hide annotations and highlights, turn the Markup toggle to Hide.
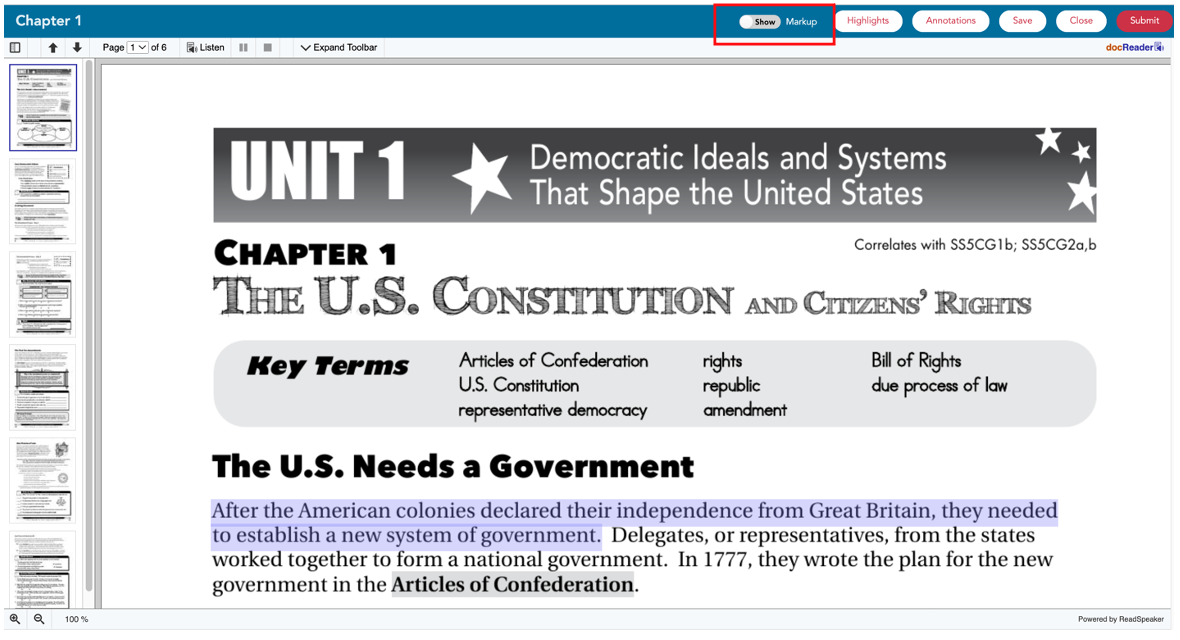
To see annotations and highlights, turn the Markup toggle to Show.
After completing an assignment, students can Save, Close, or Submit.

Videos demonstrating how to use these annotation tools:
List of PDF+ Teaching Tools